Desktop App Setup Guide
Follow these simple steps to set up and start using the Craqly Desktop Application for your interviews.
Why Use the Desktop App?
- • Invisible Screen Sharing: The desktop app is completely invisible during screen sharing - your interview appears 100% natural
- • Native Performance: Faster processing, lower latency, and better resource management than web browsers
- • Enhanced Security: Local data processing with end-to-end encryption for maximum privacy
Initial Setup
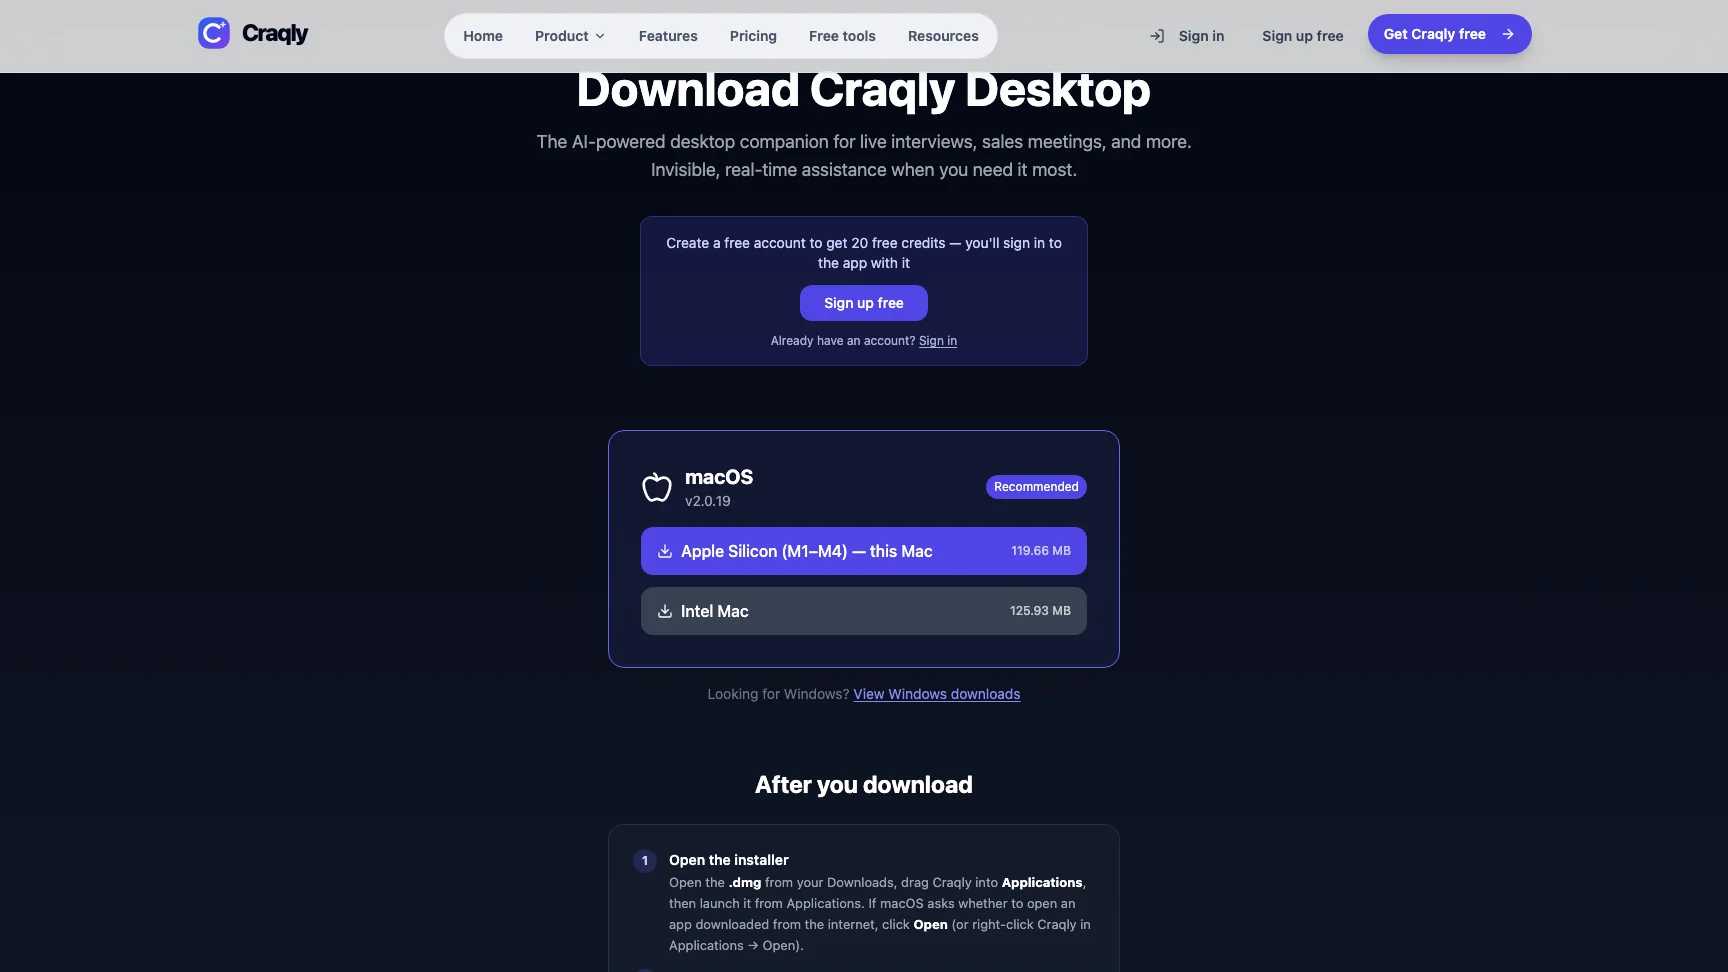
Download Craqly
No account needed yet — download first. Pick the build for your machine; the site detects your platform and offers the right one.

- macOS (Apple Silicon) — about 119 MB
- macOS (Intel) — about 126 MB
- Windows 64-bit — about 108 MB
- You do not need to sign up or sign in to download
Install it
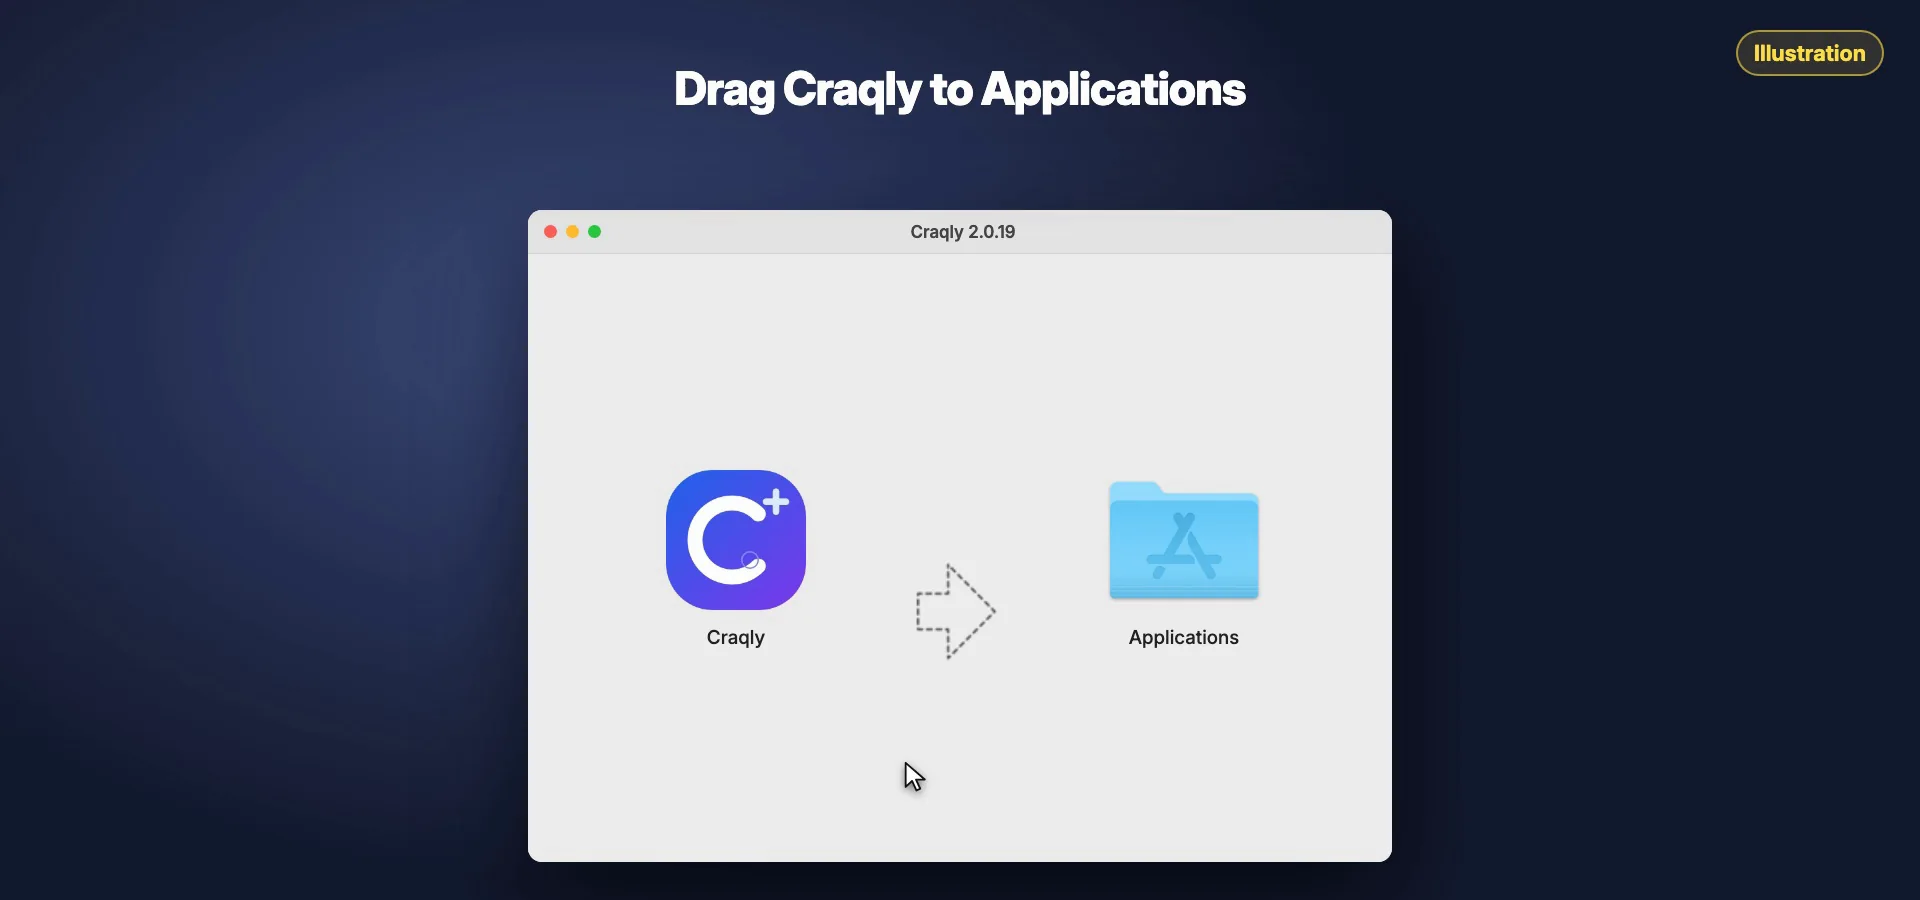
On macOS the download is a .dmg. Open it and drag Craqly into the Applications folder shown beside it, then eject the disk image and launch Craqly from Applications.

- macOS: open the .dmg, drag Craqly to Applications, then launch it from there
- Running it from inside the .dmg will not work — copy it across first
- Windows: run the .exe installer and follow the wizard
- Your OS may warn about an app downloaded from the internet — choose Open (macOS) or Run anyway (Windows). This is a one-time check
First launch
Craqly opens with a short welcome screen explaining what it does. Click Get Started to begin setup.

- Craqly works alongside Zoom, Meet, Teams and any other call software
- It stays invisible to screen sharing unless you turn that off
- Nothing is recorded — audio is transcribed live and never stored
Allow microphone and screen recording
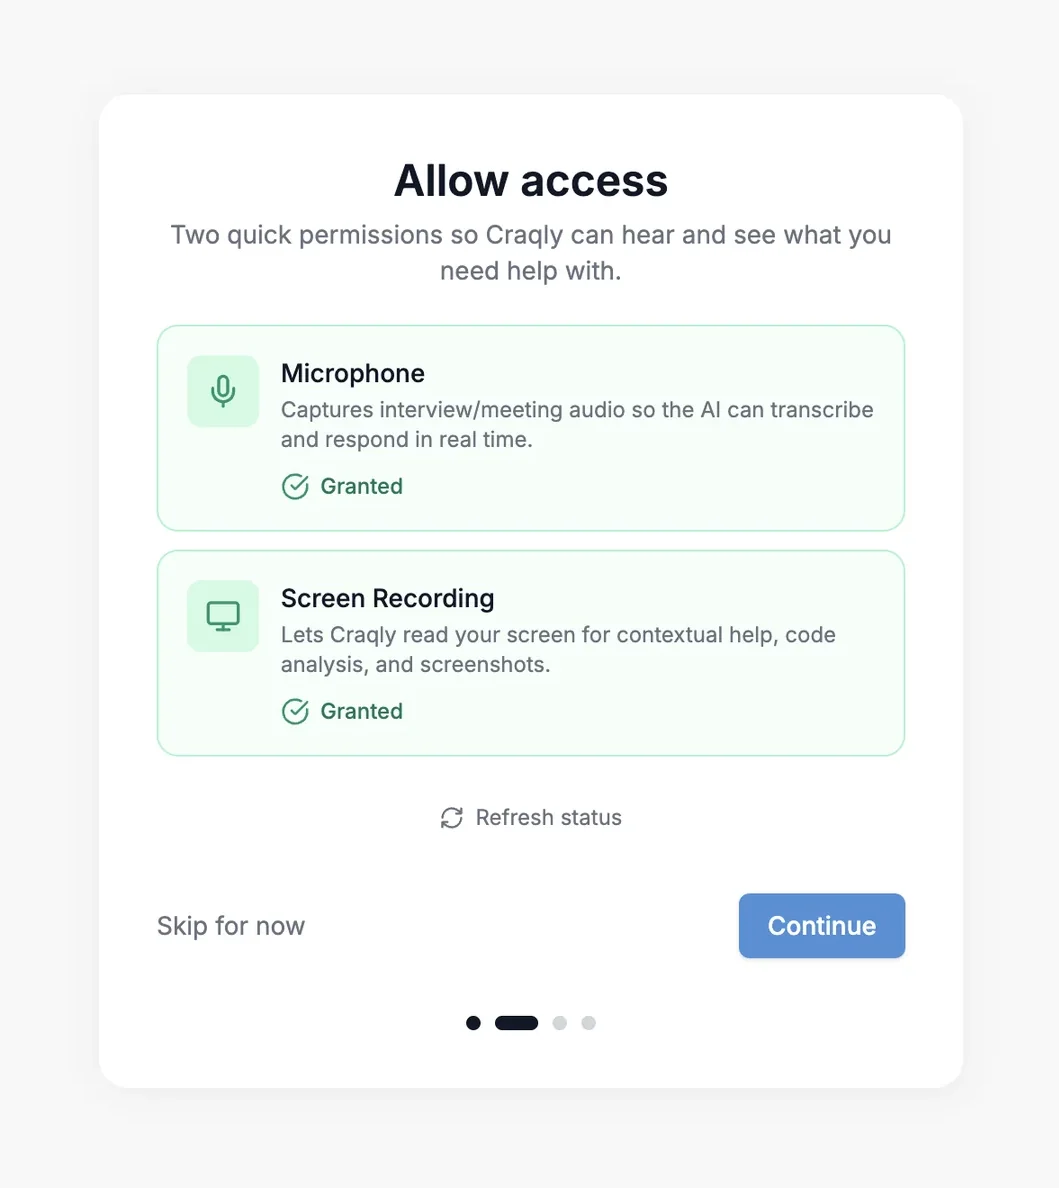
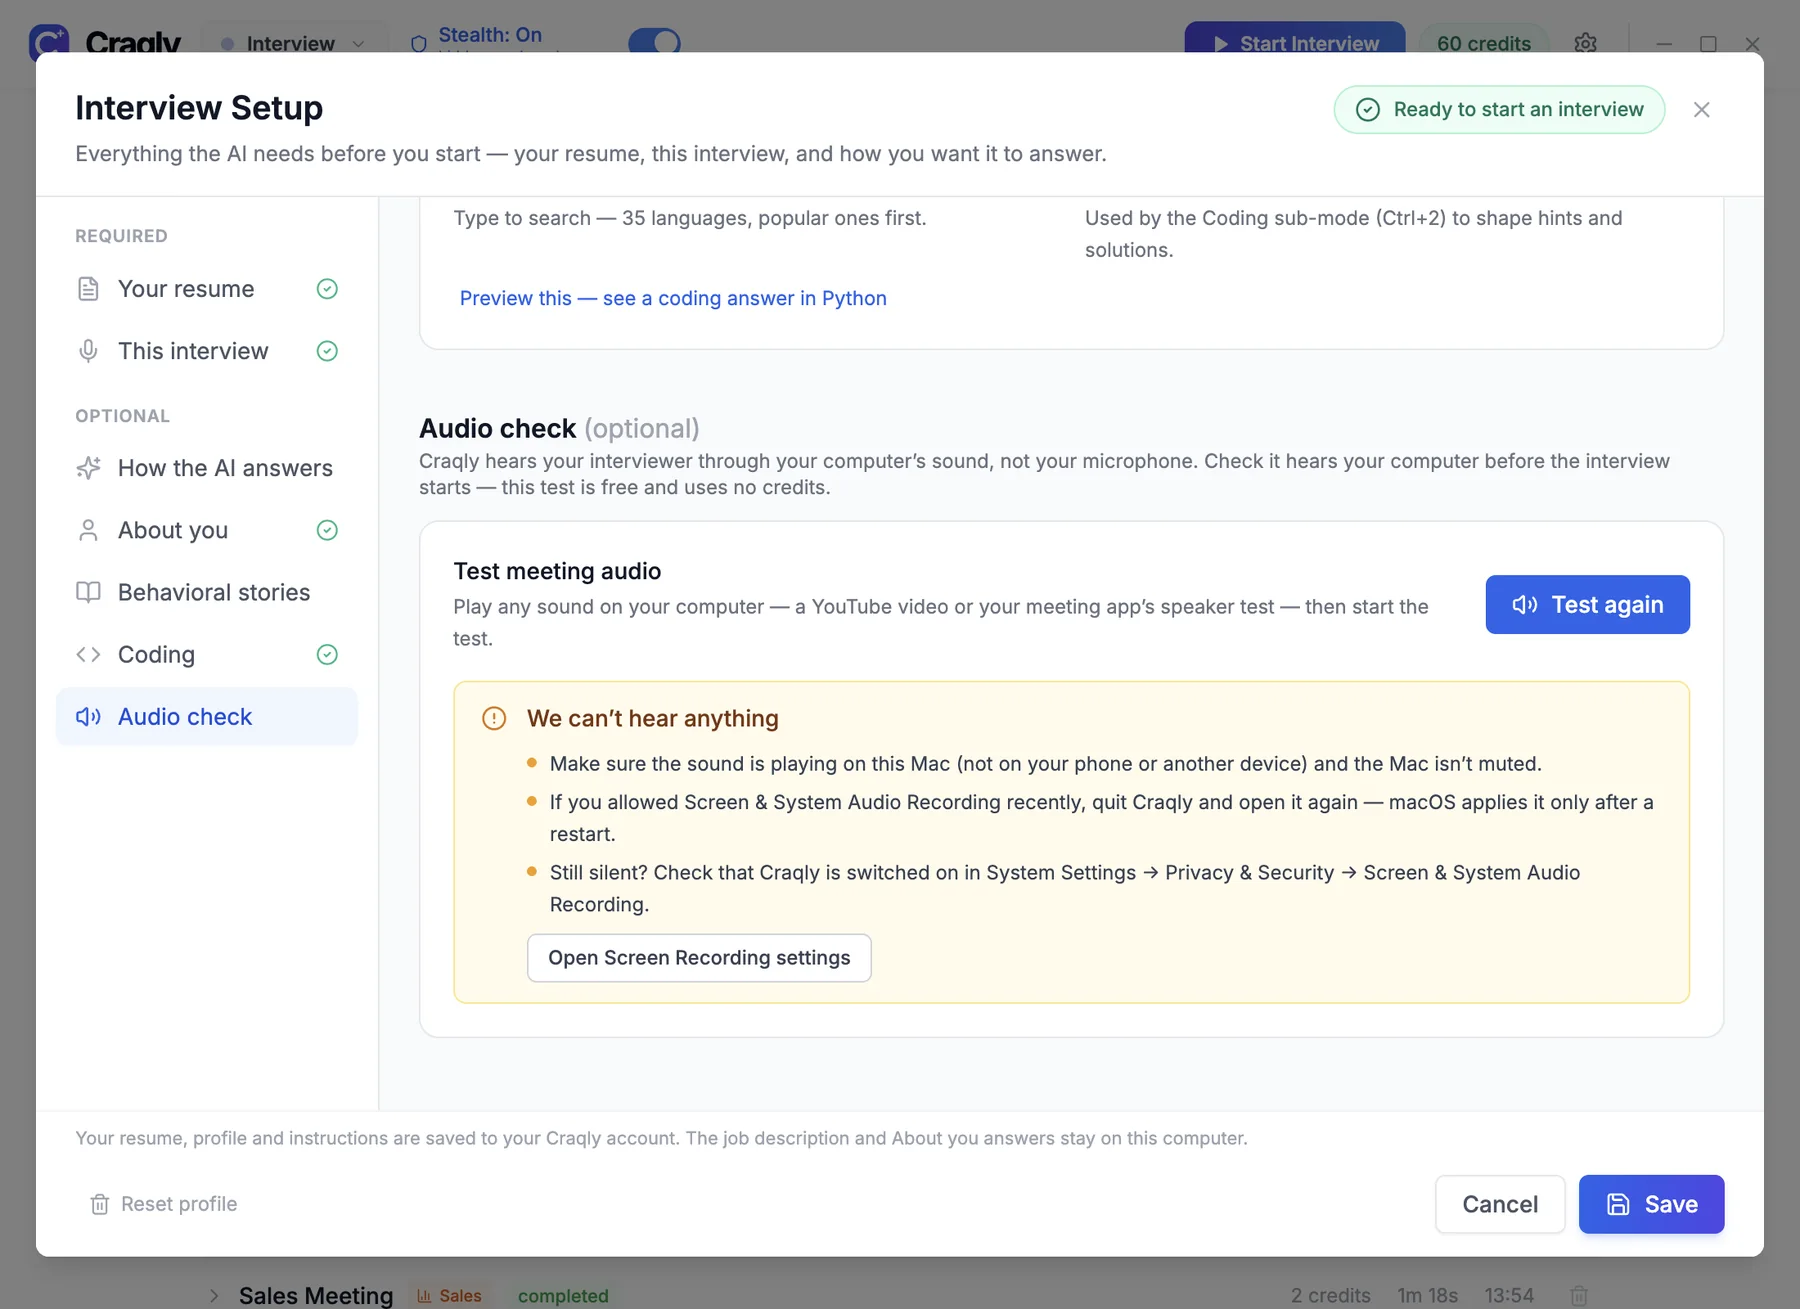
Craqly asks for both on one screen. Microphone lets it hear you; Screen Recording is what macOS requires to capture the audio coming from your call. Each shows Granted once allowed.

- Microphone — needed for Practice, Sales and Recruiting, where your own speech matters
- Screen Recording — how macOS lets Craqly hear the other side of a call
- If a permission stays off, use Refresh status, or open System Settings → Privacy & Security
- You can Skip for now, but Craqly cannot transcribe anything until both are granted
Tell Craqly what you do
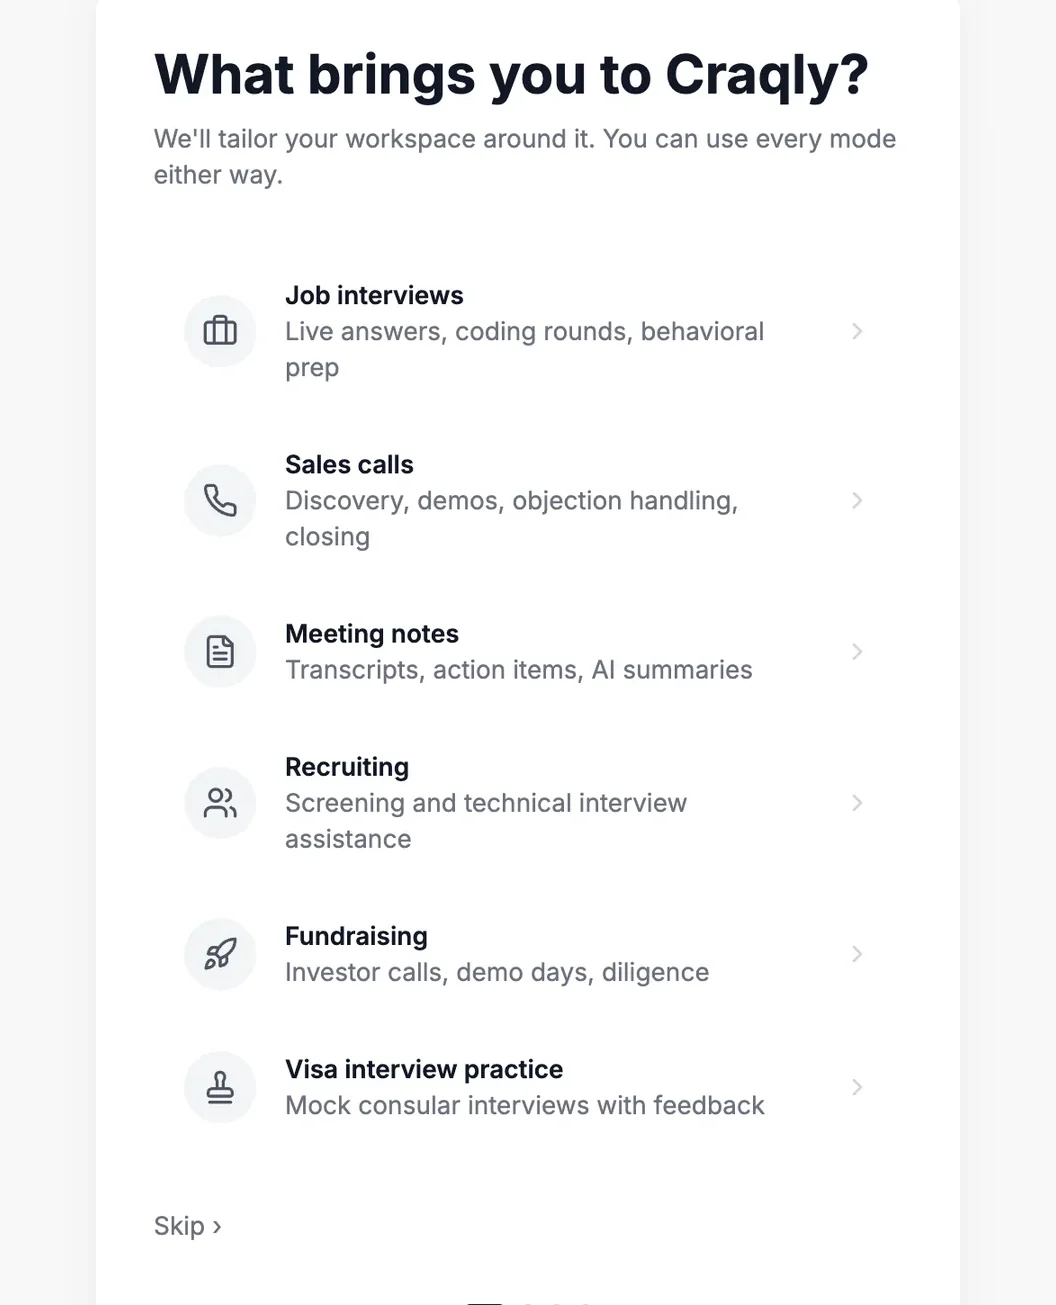
Pick your industry. This is what decides which modes and prompts Craqly puts in front of you — it is not interview-specific.

- Sales / GTM, Recruiting, Engineering, Consulting, Finance, Product and more
- Drives which modes are suggested — Sales Call, Recruiting, Meeting Notes, Interview
- Changeable at any time in Settings
Choose your interview track (interview users only)
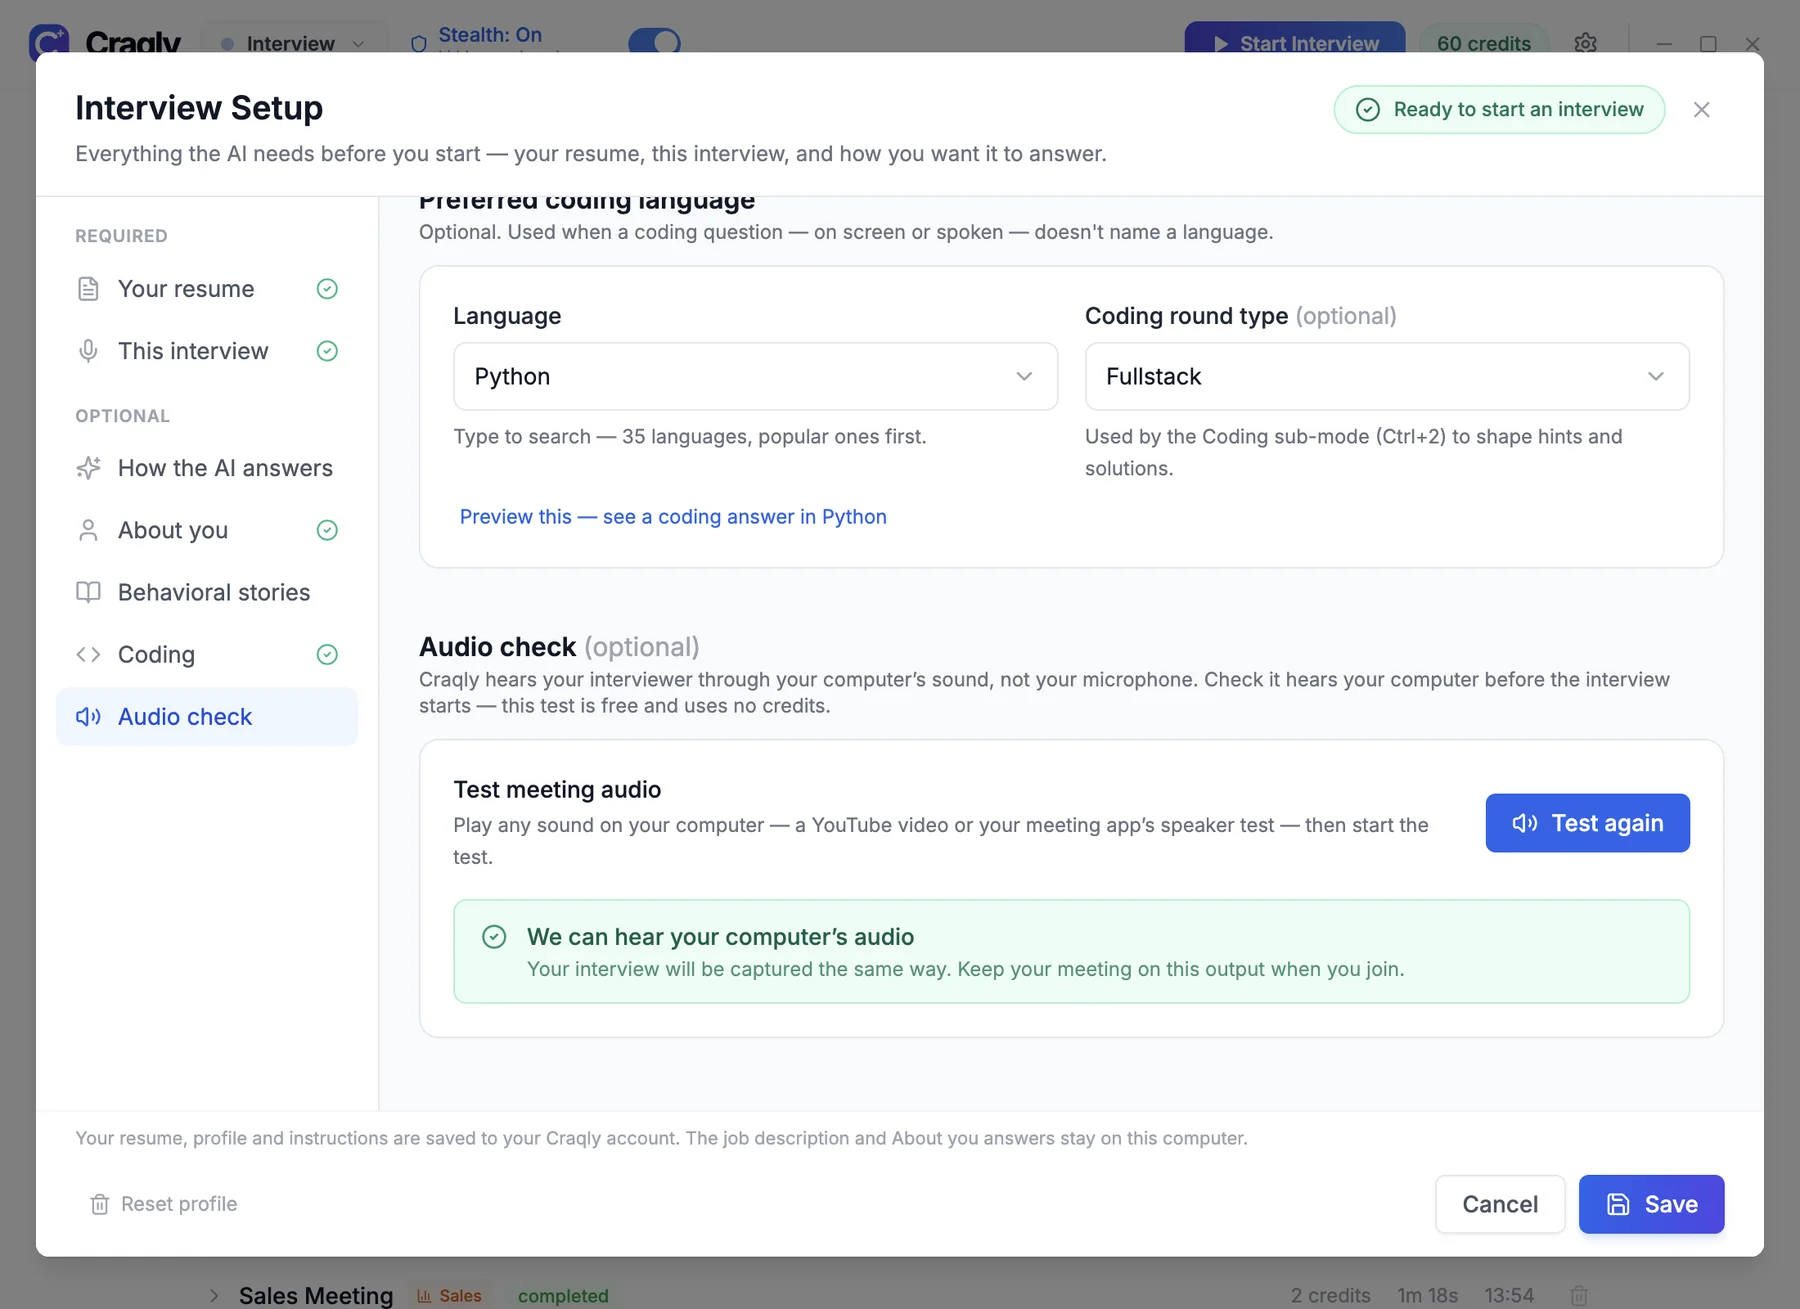
If you are preparing for interviews, pick a category and domain — Software Development → DSA / Coding, for example — plus your preferred coding language. This is the step that tunes every live answer and the whole coding round. If you are not interviewing, choose Skip — I'm not interviewing.

- Category: Software Development, Cloud & DevOps, Data & AI, Enterprise & ERP, Cybersecurity, Business & Management
- Domain: DSA / Coding, System Design, Low Level Design, Frontend, Backend, Full Stack, Mobile and more
- Preferred coding language decides which language Coding mode answers in — pick the one your interviewer expects
- Sales, Recruiting and Meeting Notes users can skip this entirely
- Editable later in Settings → Modes → Interview
Learn the shortcut keys
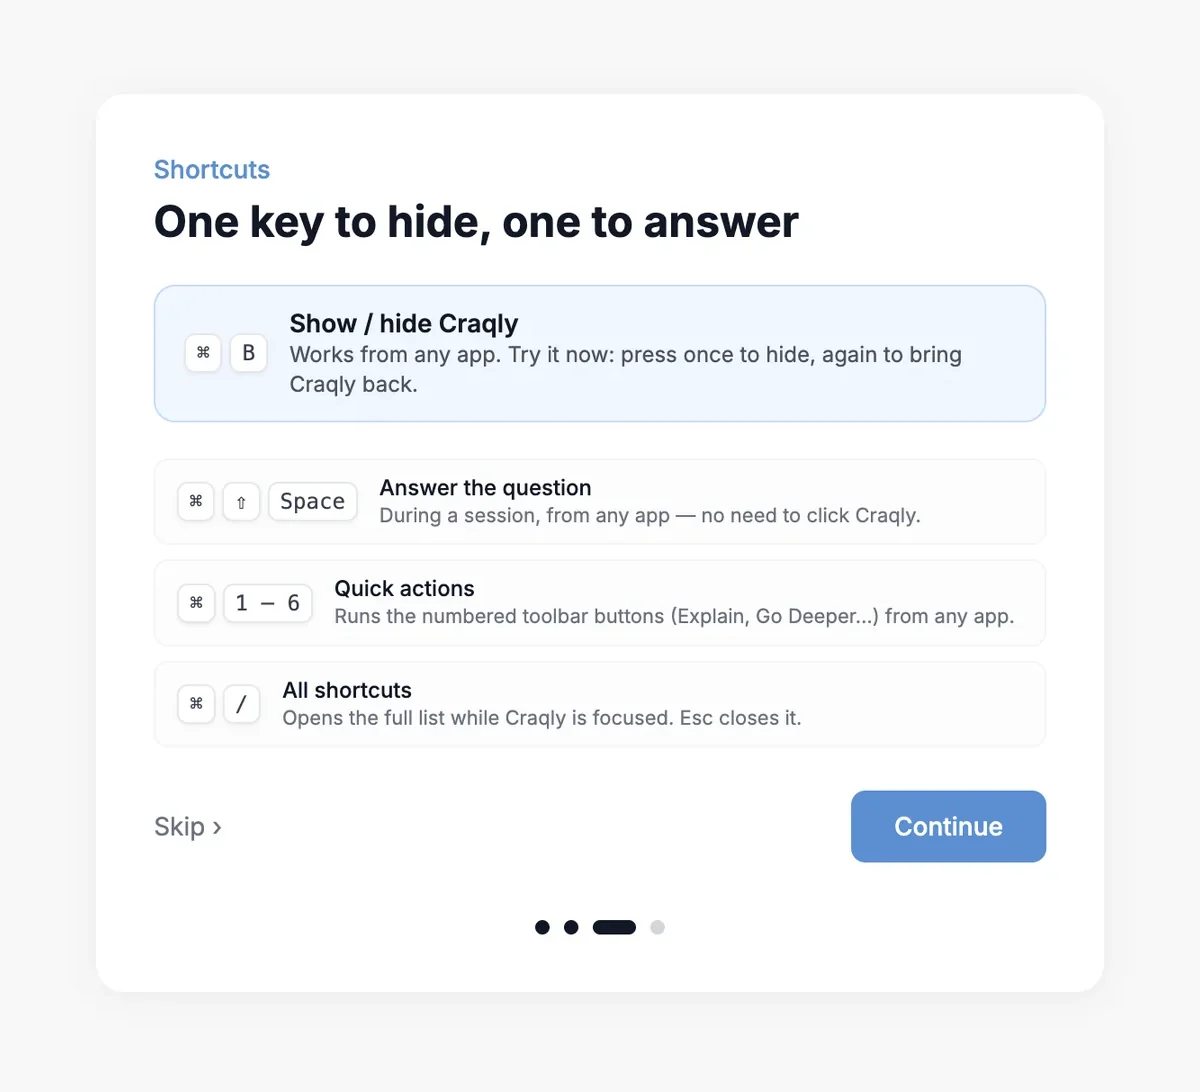
There are two ways to run a quick action, and the difference matters. Cmd/Ctrl + a number works GLOBALLY — from any window, without touching Craqly. The plain number keys work ONLY while the Craqly window itself is in focus. During an interview or exam, always use Cmd/Ctrl.

- GLOBAL — Cmd/Ctrl + 1, 2, 3, 4, 5, 6 run quick actions 1 to 6 from anywhere. Your meeting, exam or browser stays focused and you never click Craqly
- WINDOW ONLY — plain 1, 2, 3, 4, 5, 6 run the same actions, but only when you have already clicked into the Craqly window
- Use the Cmd/Ctrl form during a live session. Clicking Craqly to use the plain number keys moves focus away from your meeting or exam, and some platforms notice that
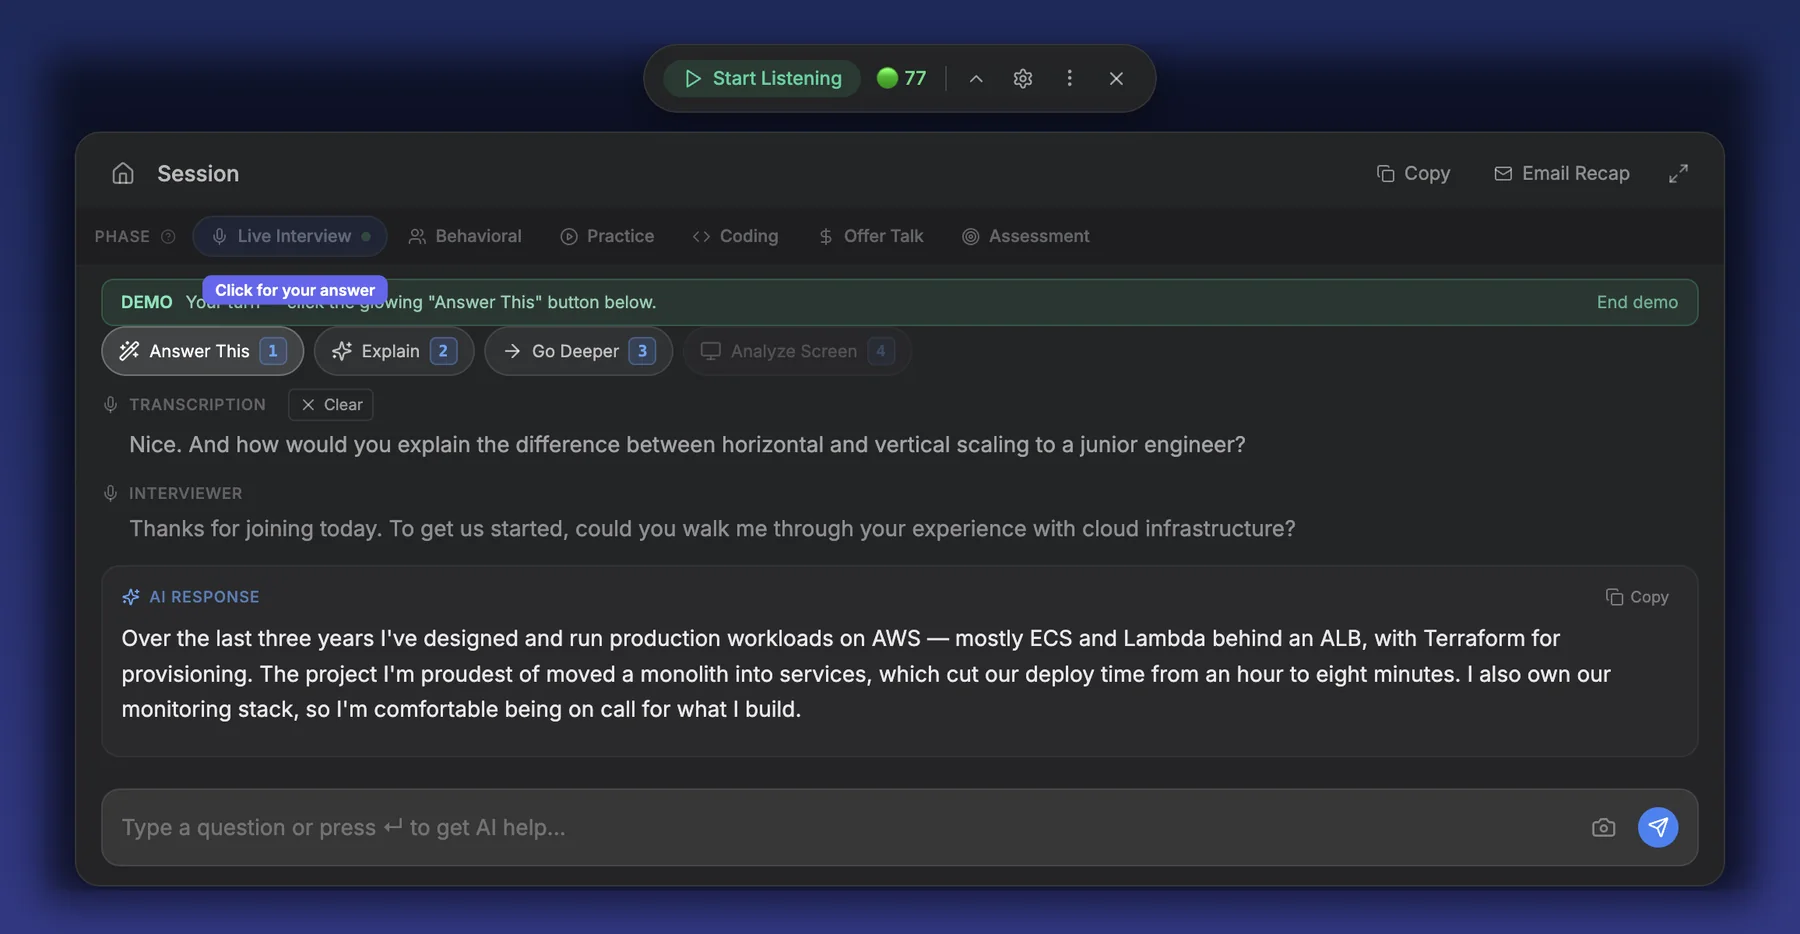
- The actions change with the mode and sub-mode you are in — 1 is Answer This in a live interview, and Analyze Screen in Coding or Assessment
- Cmd/Ctrl + Shift + 1, 2, 3 start a Live, Coding or Behavioral session — also global
- Cmd/Ctrl + H takes a screenshot, then Space answers it
- Cmd/Ctrl + B hides and shows the window instantly
Sign in or create your account
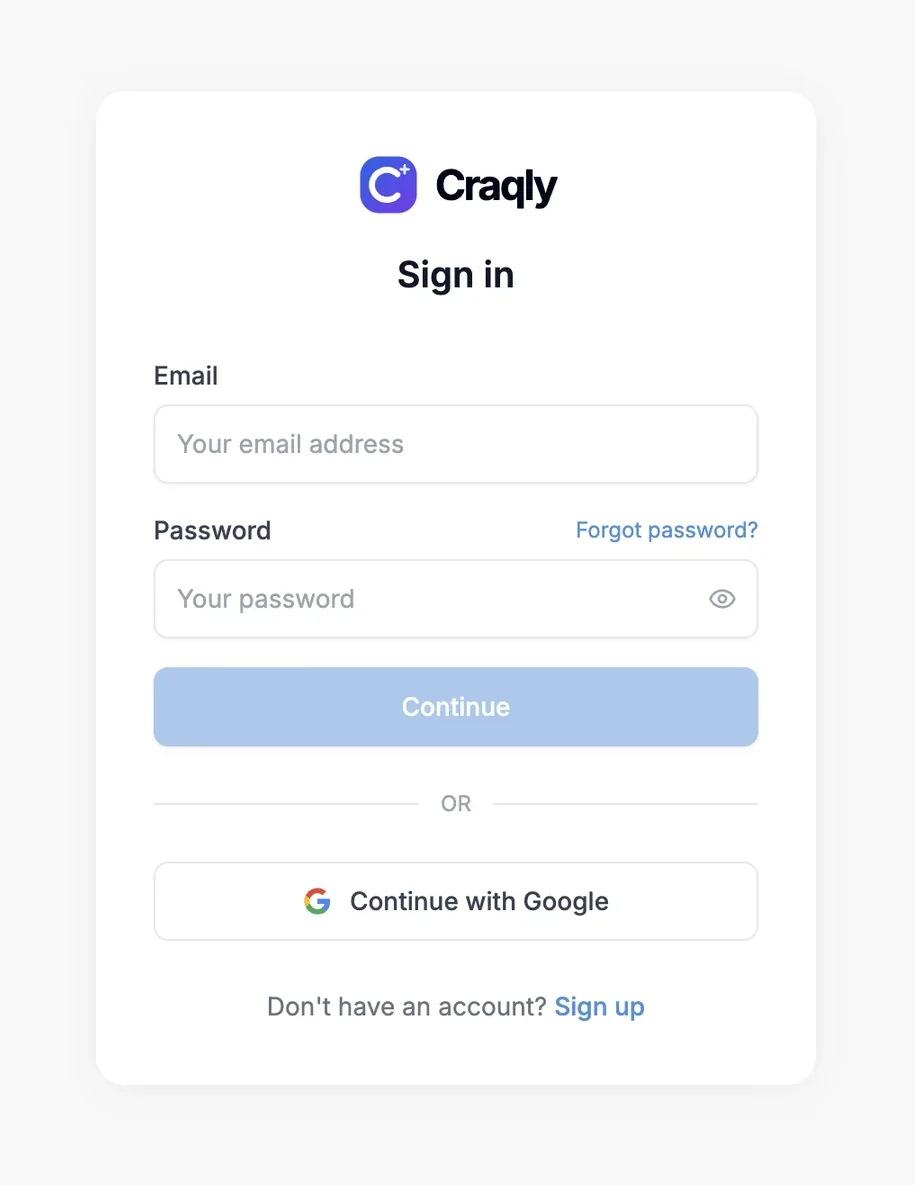
Craqly asks for an account at the end, once setup is done. Sign in with email or Google — or create an account here if you do not have one. New accounts start with free credits.

- Sign in with Google, or with an email and password
- No account yet? Choose Sign up on the same screen
- Free credits are included so you can try it before subscribing
- Your credits and session history follow the account, not the machine
Pick a mode and start
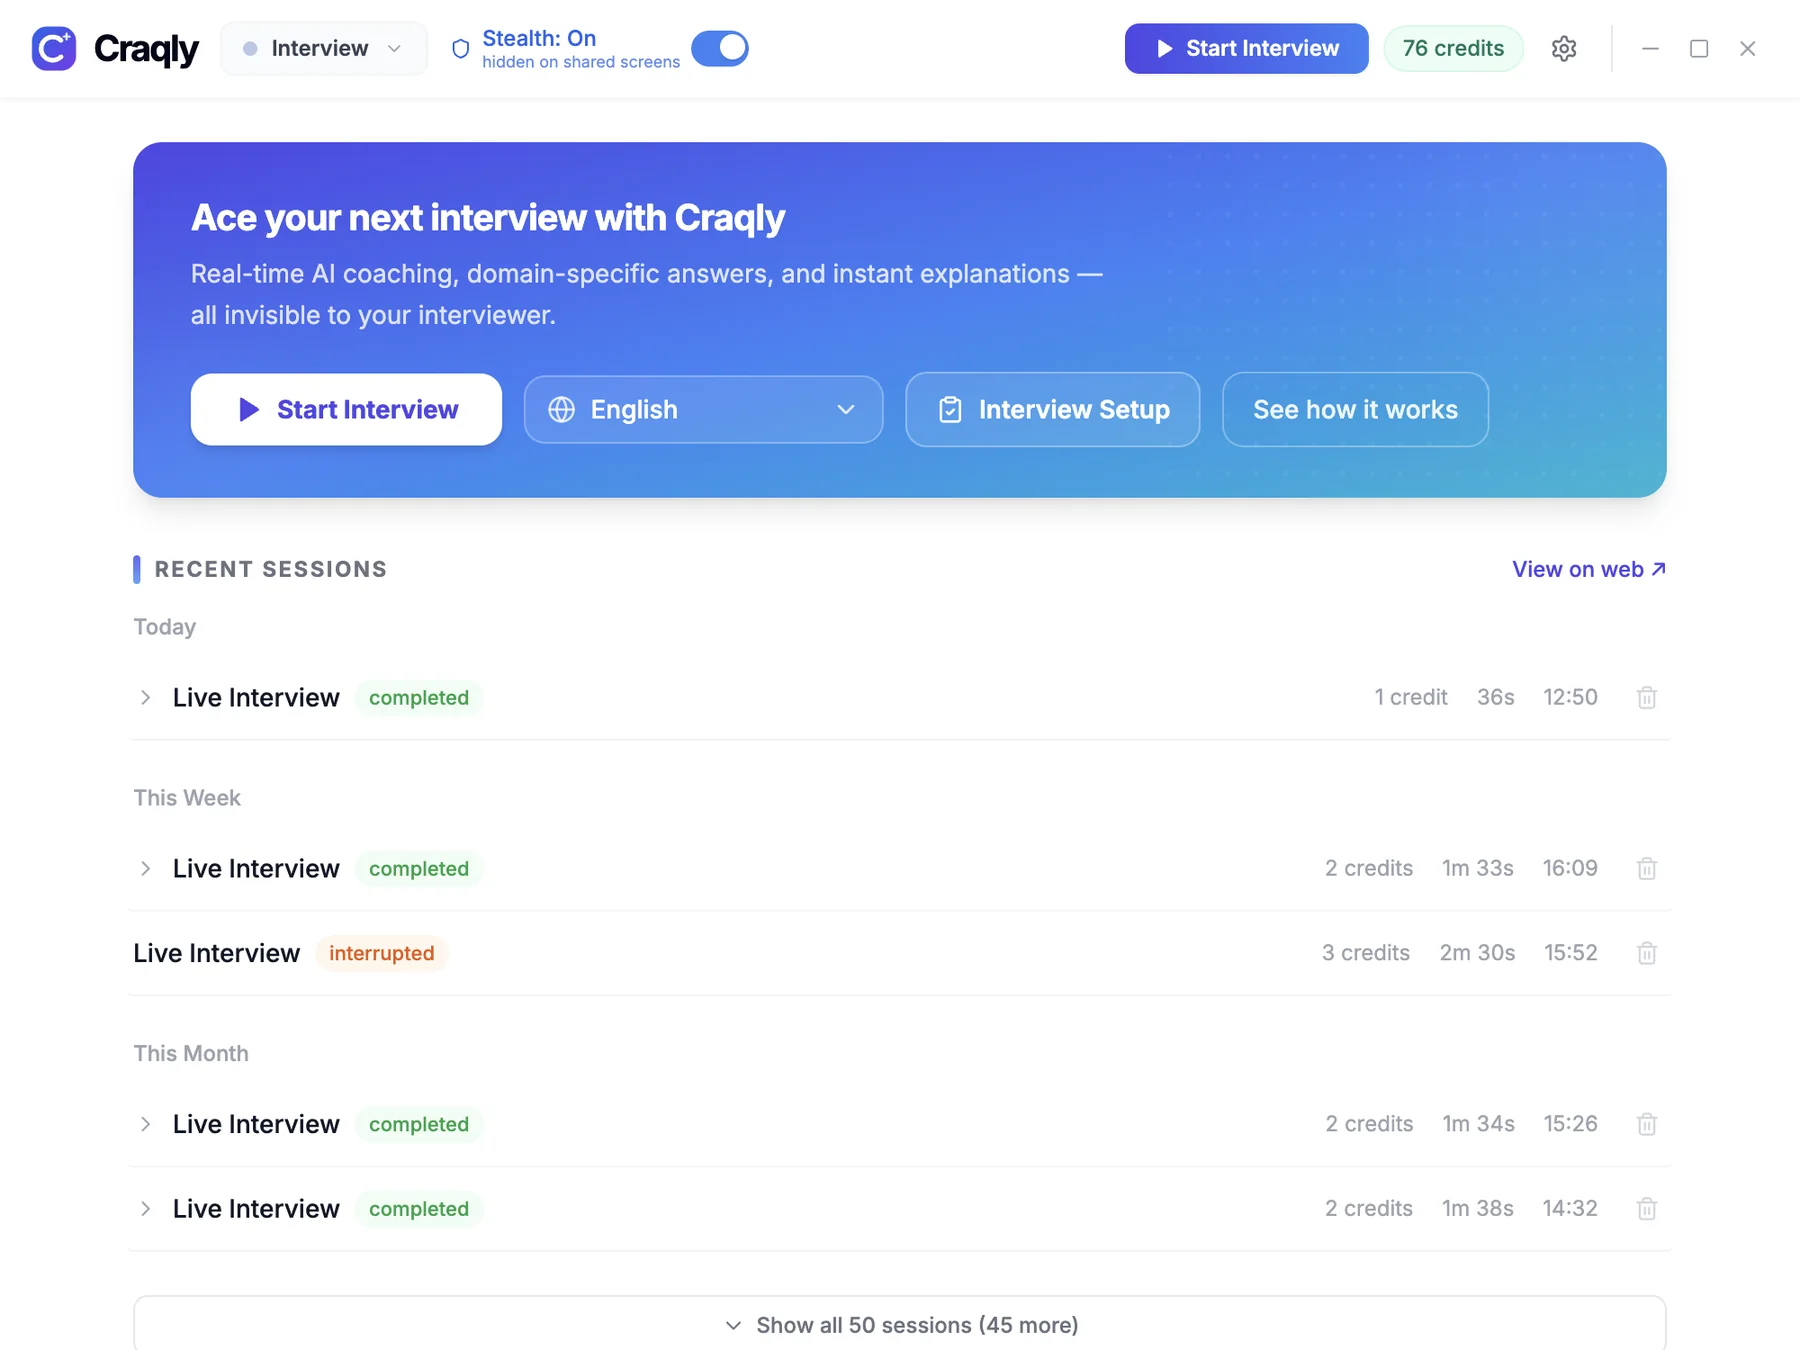
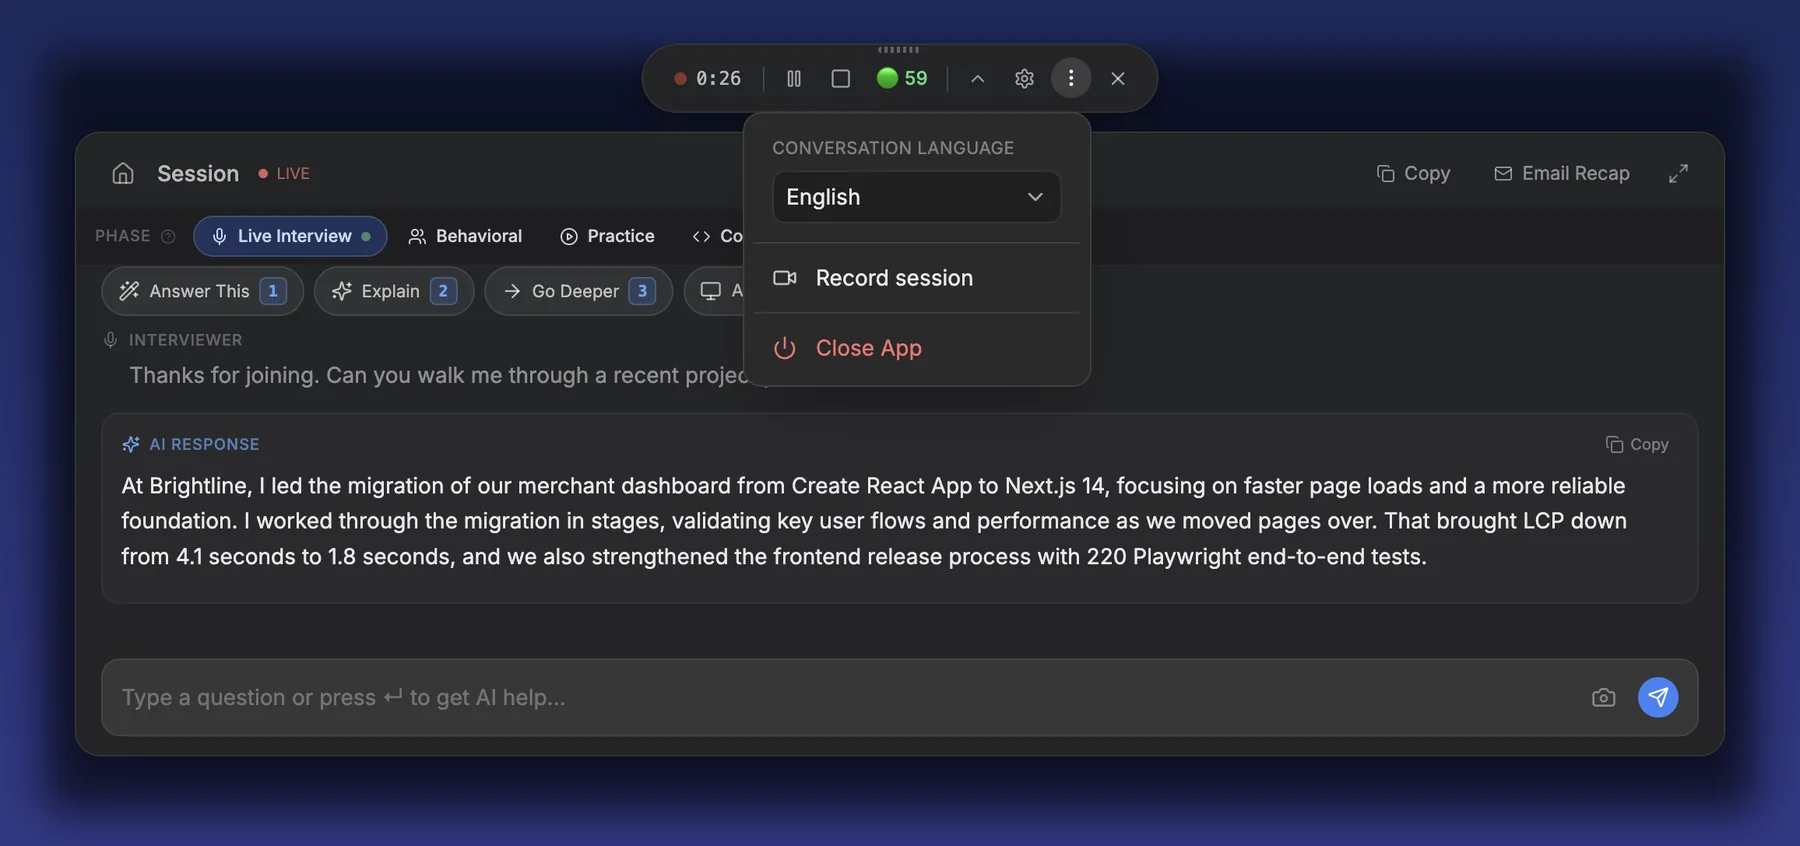
You land on the home screen. Choose your mode from the selector in the top-left — Interview, Sales Call, Recruiting, Pitch or Meeting Notes — then press Start. Join your call first, so there is audio to capture.

- Be in the meeting before you start the session — Craqly captures audio that is already playing
- Stealth is off by default: the window is visible in screen shares until you turn it on
- Credits are counted per minute of an active session and shown in the top bar
- Each mode has its own guide — see the links below
You're set up. What next?
Setup is done once. Each mode has its own guide covering sub-modes, quick actions and shortcuts.
Need Additional Help?
If you encounter any issues during setup or have questions, our support team is here to assist you.